Domain Name
You will need a domain name as Saltbox apps are only accessed via https://appname.iYOUR_DOMAIN_NAMEi (see Accessing Saltbox Apps). The steps below will help you set up a domain name and DNS settings for use with Saltbox.
Ports are (for the most part) bound only to the internal saltbox docker network, which means they are not visible on the host; you won't be able to connect externally to the apps using IP:PORT.
1. DNS Provider
| Description / name | Input element |
|---|---|
| Your domain name |
Get a domain name from any domain name registry (e.g. Namecheap, Godaddy, Namesilo, etc).
If you already have one, you may skip this step.
Note: Free domain name providers, such as Freenom, do not support wildcard DNS settings, and paid domain names can be had for less than a dollar per year (tld-list is useful in this regard).
If you are planning to use the automatic Cloudflare integration, there are some top-level domains (TLDs) that will not work with it. Refer to this page.
As of 2023/10/22: "The DNS API cannot be used for domains with .cf, .ga, .gq, .ml, or .tk TLDs"
2. DNS Setup
Pick one of the setups below. Your choice will depend on whether you meet certain criteria, as listed under the "Notes" section.
Notes:
-
For DNS providers that allow wildcards.
-
For Saltbox install type.
Steps:
Create an A Record for your subdomains with * for host and set the value to your server IP address.
| Type | Host | Value | TTL |
|---|---|---|---|
| A Record | * | Server IP Address | 300 |
Example
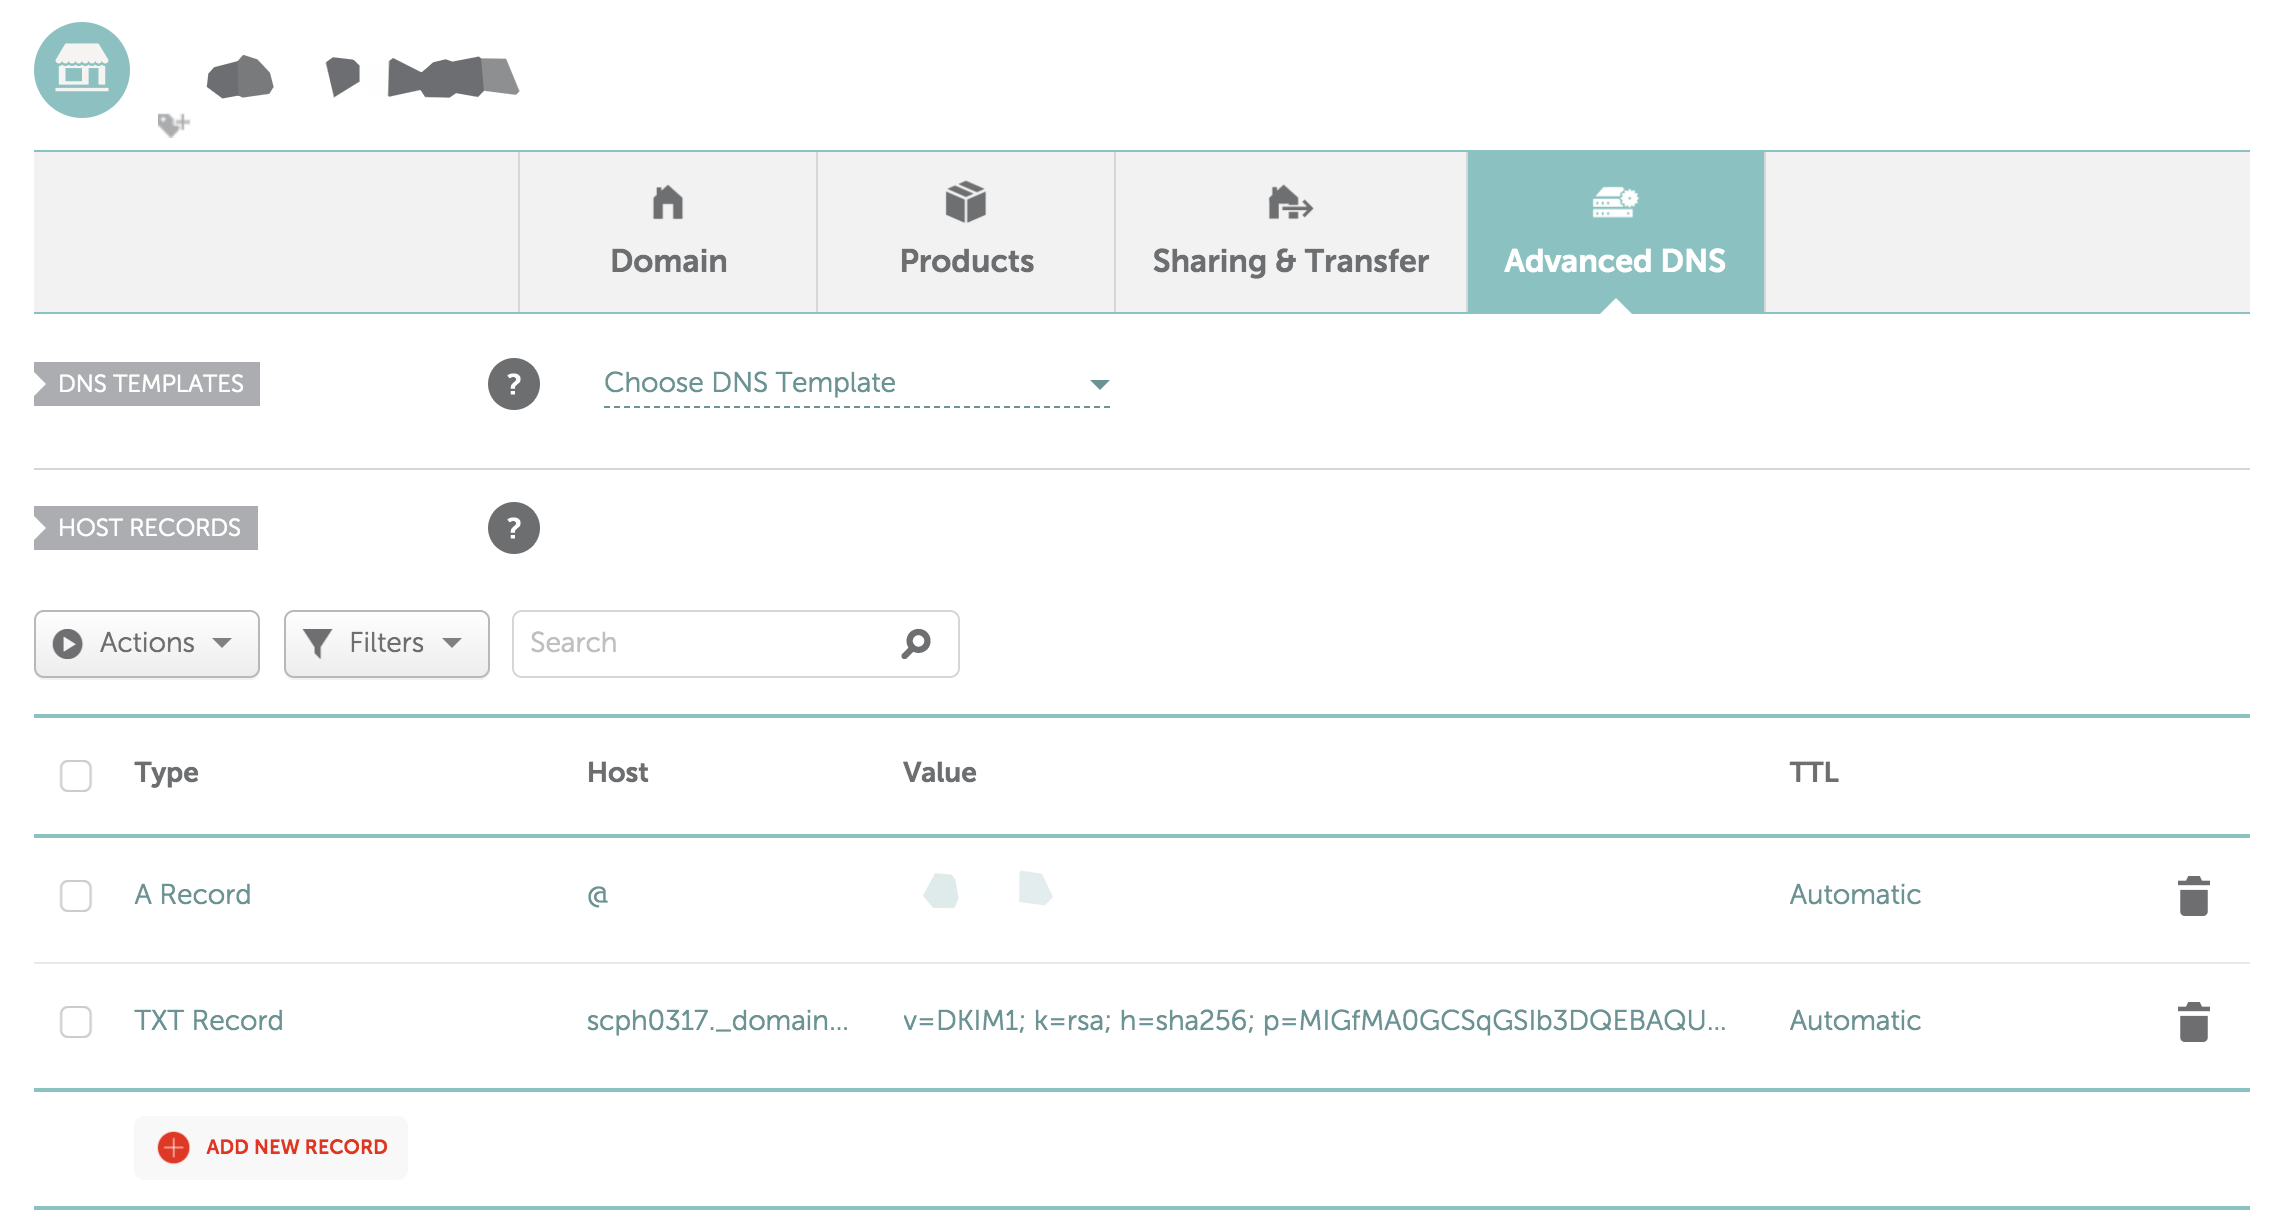
Namecheap > Domain List > Manage > Advanced DNS > Add New Record > A Record > * for Host > Server IP for Value.
Notes:
-
For DNS providers that do not allow wildcards (e.g. Freenom).
-
For Cloudflare users.
Note: if you provide the preferred Cloudflare Global API Key and account email, or a scoped token, the Saltbox installer will set this up for you automatically. See the tab to the right for details about this optional automation.
You will need to create A Records for all Saltbox subdomains.
| Type | Host | Value | TTL |
|---|---|---|---|
| A Record | plex | Saltbox IP Address | 300 |
| A Record | tautulli | Saltbox IP Address | 300 |
| A Record | jackett | Saltbox IP Address | 300 |
| A Record | radarr | Saltbox IP Address | 300 |
| A Record | sonarr | Saltbox IP Address | 300 |
| A Record | qbittorrent | Saltbox IP Address | 300 |
| A Record | nzbget | Saltbox IP Address | 300 |
| A Record | nzbhydra2 | Saltbox IP Address | 300 |
| A Record | organizr | Saltbox IP Address | 300 |
| A Record | portainer | Saltbox IP Address | 300 |
| A Record | login | Saltbox IP Address | 300 |
You will need to create A Records for both IP addresses (Media and Feeder boxes) and set them to their respective subdomains.
Mediabox
| Type | Host | Value | TTL |
|---|---|---|---|
| A Record | plex | Mediabox IP Address | 300 |
| A Record | tautulli | Mediabox IP Address | 300 |
| A Record | login | Mediabox IP Address | 300 |
Feederbox
| Type | Host | Value | TTL |
|---|---|---|---|
| A Record | jackett | Feederbox IP Address | 300 |
| A Record | radarr | Feederbox IP Address | 300 |
| A Record | sonarr | Feederbox IP Address | 300 |
| A Record | qbittorrent | Feederbox IP Address | 300 |
| A Record | nzbget | Feederbox IP Address | 300 |
| A Record | nzbhydra2 | Feederbox IP Address | 300 |
| A Record | organizr | Feederbox IP Address | 300 |
| A Record | portainer | Feederbox IP Address | 300 |
if you provide the preferred Cloudflare Global API Key and account email, or a scoped token, in Saltbox settings, the Saltbox installer will set this stuff up for you automatically.
Notes:
-
THIS IS OPTIONAL
-
THIS IS CLOUDFLARE-SPECIFIC
What's happening here?
If you want Saltbox to work with Cloudflare and automate setting up DNS, you need to:
- Set up Cloudflare as your DNS provider
- Retrieve the preferred Cloudflare Global API Key, or create a scoped API token
- Enter the selected credentials into the Saltbox settings
- run the saltbox install, during which all the required subdomains will be created at Cloudflare for you
- do some optional post-install adjustments.
Intro
Cloudflare a service that, among other things, protects and accelerates a wide network of websites. By being the "man in the middle", it can act like a free DNS provider.
Saltbox makes adding subdomains to Cloudflare's DNS settings a breeze via automation. Saltbox prefers the Global API Key and account email. A scoped API token is also supported when limiting access to the required zone and operations is desired.
Note that there are some top-level domains (TLDs) that will not work with this automation. Refer to this page.
As of 2023/10/22: "The DNS API cannot be used for domains with .cf, .ga, .gq, .ml, or .tk TLDs"
Although Cloudflare is not required for Saltbox, it is still recommended because:
-
DNS changes propagate almost instantly (a lot faster than a domain provider's DNS service).
-
Hide your server's IP behind Cloudflare's.
-
Makes setting up Mediabox / Feederbox a lot quicker.
-
Allows for automated setup of subdomains for Saltbox add-on apps.
-
It's free.
Note: Saltbox does not enable CDN / Proxy by default, but you may do so yourself after installing Saltbox (see section below.
Set up Cloudflare as your DNS provider
-
Sign up for a free Cloudflare account.
-
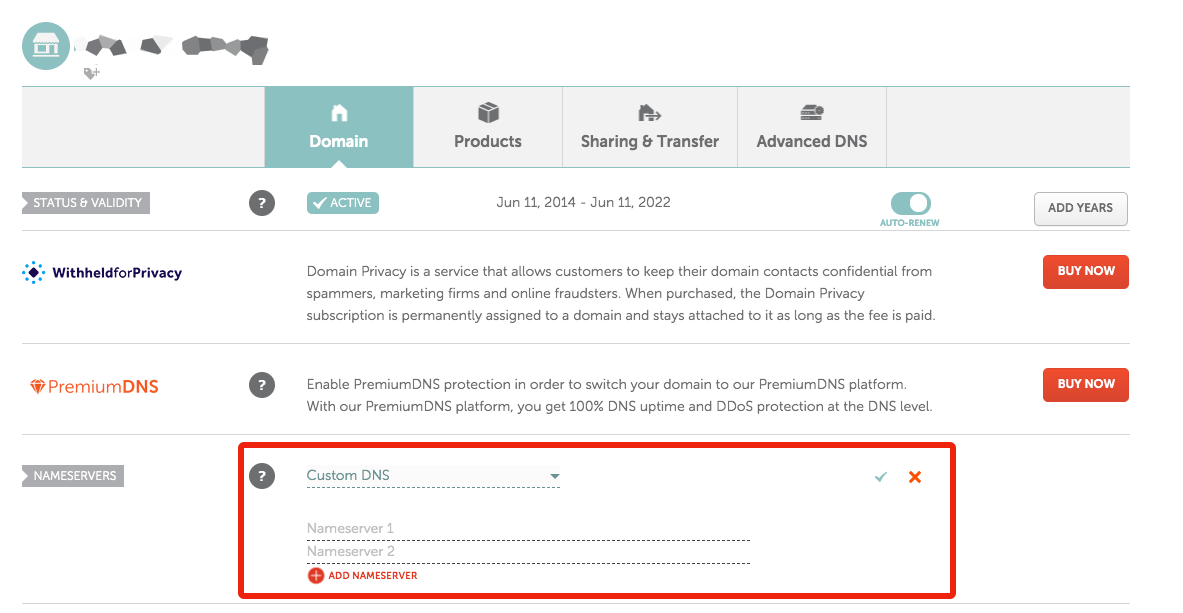
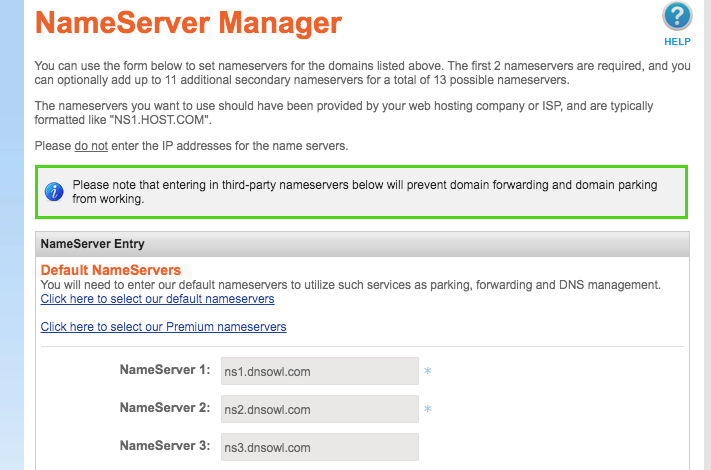
On your Domain Registrar's website (e.g. GoDaddy, Namecheap, etc), set the Name Servers to what Cloudflare instructs you to. Here are two examples; Saltbox does not require either of these registrars, and every registrar will, or should, allow you to change these same settings in some way.
"Dashboard" -> yourdomain.tld -> "Manage" -> "Name Servers" -> "Custom DNS" -> add the nameservers in.
"Manage My Domains" -> yourdomain.tld -> "NameServers" -> "Change" -> add the nameservers in.
Setup
-
Go to Cloudflare dashboard and select your account.
-
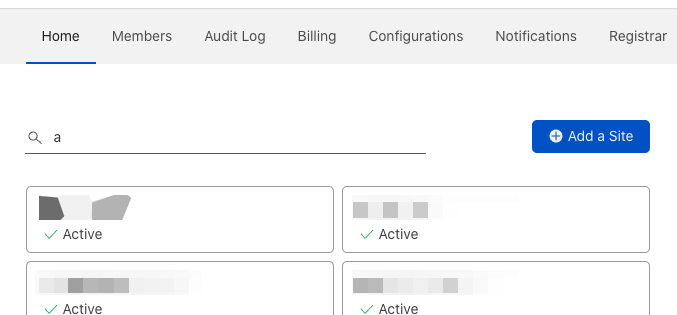
Here, your domain name should have an "Active" status. Click on it to access its settings.
-
Navigate to SSL/TLSOverview and ensure encryption mode is set to Full (strict).
Get Cloudflare credentials
Saltbox supports two mutually exclusive Cloudflare authentication methods. The Global API Key and account email are preferred; a scoped token is an alternative.
Preferred: Global API Key
-
Go to the Cloudflare dashboard.
-
Open User Profile → API Tokens.
-
In the API Keys section, find Global API Key and select View.
-
Complete Cloudflare's identity confirmation and save the displayed key securely.
-
Configure the Global API Key and the email address of its Cloudflare user in
/srv/git/saltbox/accounts.yml, leaving the scoped token blank:cloudflare: api: "your-global-api-key" email: "your-cloudflare-account-email" scoped_token:
Alternative: scoped API token
-
Go to the Cloudflare dashboard and select your account.
-
Open Manage Account → Account API Tokens.
-
Select Create Token, give the token a descriptive name such as
Saltbox, and add these exact website selections:Section Setting Access Saltbox usage DNS and Zones Zone Read Find the managed zone and its zone ID. DNS and Zones DNS Edit Read, create, update, and remove DNS records. DNS and Zones Zone Settings Read Read the zone SSL/TLS mode during diagnostics. Cache and Performance Cache Purge Purge Purge the zone cache after Saltbox changes. Rules and Configuration Config Settings Edit Manage the http_config_settingsConfiguration Rule used for certificate challenges.These are dashboard sections, not API resource scopes. Cloudflare's API catalog describes the two Edit selections as
Write, but the website labels the access level Edit. Do not select Select Configuration in place of Config Settings; it is account-scoped and is not the zone-scoped Configuration Settings permission Saltbox needs.Account-owned tokens cannot access Cloudflare Page Rules. Saltbox does not require Page Rules: it uses the zone-scoped
http_config_settingsConfiguration Rule to disable Browser Integrity Check for ACME challenge requests, which provides the same behavior for the managed zone. -
Under Zone Resources, select Include → Specific zone and select the zone containing the domain configured in Saltbox. For example, a Saltbox domain of
home.example.comnormally uses theexample.comCloudflare zone. -
Optionally set an expiration date, then select Continue to summary. Confirm that the summary contains only the five section, setting, and access combinations above and the intended zone.
-
Select Create Token and save the token securely. Cloudflare displays the secret only once.
-
Configure the token in
/srv/git/saltbox/accounts.yml, leaving the Global API Key and email blank:cloudflare: api: email: scoped_token: "your-account-token"Do not configure
scoped_tokentogether withapioremail; Saltbox rejects mixed authentication modes.
A user-owned scoped token from My Profile → API Tokens is also supported. The Global API Key and account email cannot be combined with a scoped token.
Add the Cloudflare credentials to Saltbox
See here for more information about these settings.
After saltbox is installed
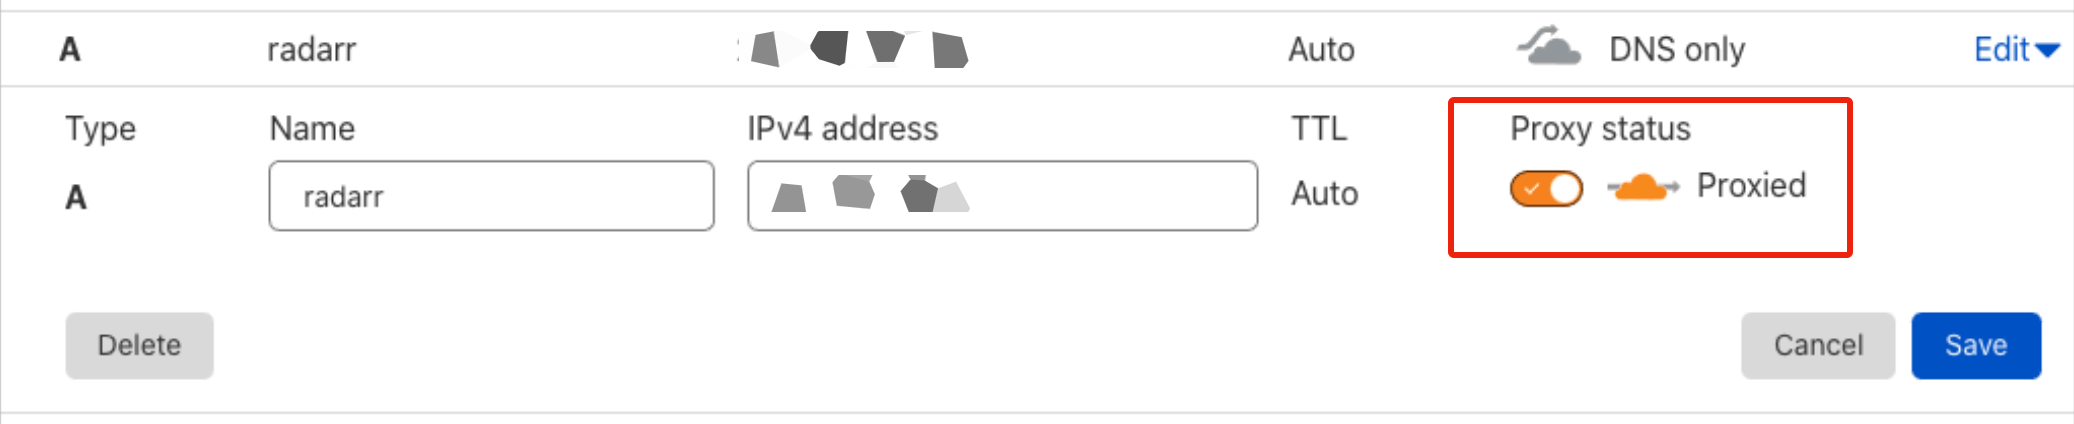
After Saltbox has added in the subdomains, you may go back in and turn on CDN for for them if you like. Note, however, that enabling proxying on your plex or emby subdomains (or more generally proxying large amounts of non-HTML content) is against Cloudflare TOS and may end up getting your Cloudflare account banned.
Do this AFTER all your certs have been assigned and you have confirmed that all the Saltbox app sites are loading OK.
This also applies to any app/subdomains you add in the future - wait till after you get certs before enabling CDN.
Note 1: Leave the subdomains saltbox, mediabox, and feederbox as DNS Only, as they were created to reach your servers directly and not behind a CDN proxy (i.e. they need to resolve to the server's IP and not Cloudflare's).
Note 2: If you enable proxying on plex/emby subdomains despite it being against TOS, you may find that performance suffers badly.
You can do this by:
-
Going to Cloudflare.com.
-
Clicking the DNS tab.
-
Find the subdomain name of interest.
-
Under "Status", click the switch next to the gray cloud icon (i.e.
DNS Only) to switch to an orange one (i.e.DNS and HTTP proxy (CDN)).